Double-click the file you just downloaded (GyazMail-x.y.z.dmg). A new finder window will appear containing GyazMail application. Simply drag this to whatever folder or disk you’d like to store it in.
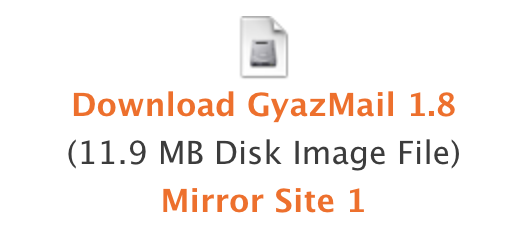
1. Download
Click the apropriate link at this page to download GyazMail.
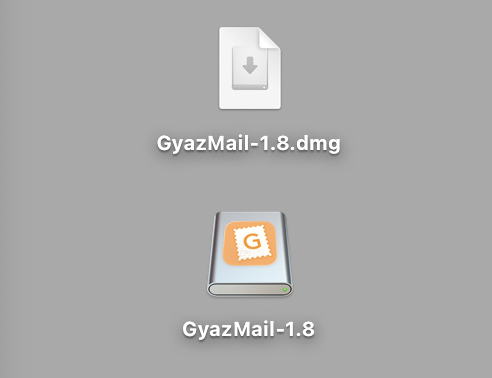
2. Mount
Wait until the download is complete. Your web browser will mount the downloaded disk image file (.dmg). If this does not happen, locate the .dmg file that you downloaded in Finder, and double-click it to open and mount the image.
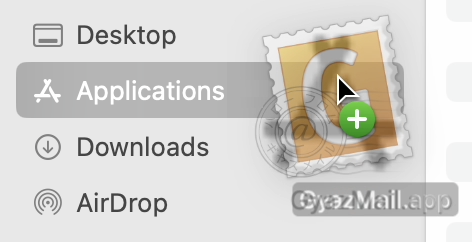
3. Install
Be sure that you’ve quit any running copies of GyazMail before installing.
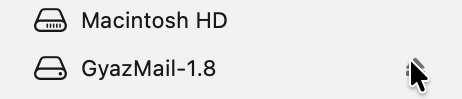
When the disk image mounts, a Finder window will open that contains the icon for your new GyazMail application. Simply drag this icon to your Applications folder (or wherever you would like to keep it) to install. This copies the application from the virtual disk image onto your hard disk so the application is there for you to use whenever you like.
4. Eject
Once GyazMail is installed you can safely “eject” the virtual disk that it came on and also dispose of the .dmg file that you downloaded if you choose. Double-click the GyazMail icon where you installed it in order to begin using the application. You may wish to drag the icon to the Dock for easy access.
Uninstallation
To uninstall GyazMail, move the following items to the trash.